
Home>Create & Decorate>DIY & Crafts>Crafty Clover Coasters: DIY Home Improvement For St. Patrick’s Day
DIY & Crafts
Crafty Clover Coasters: DIY Home Improvement For St. Patrick’s Day
Published: February 15, 2024

Content Creator specializing in woodworking and interior transformations. Caegan's guides motivate readers to undertake their own projects, while his custom furniture adds a personal touch.
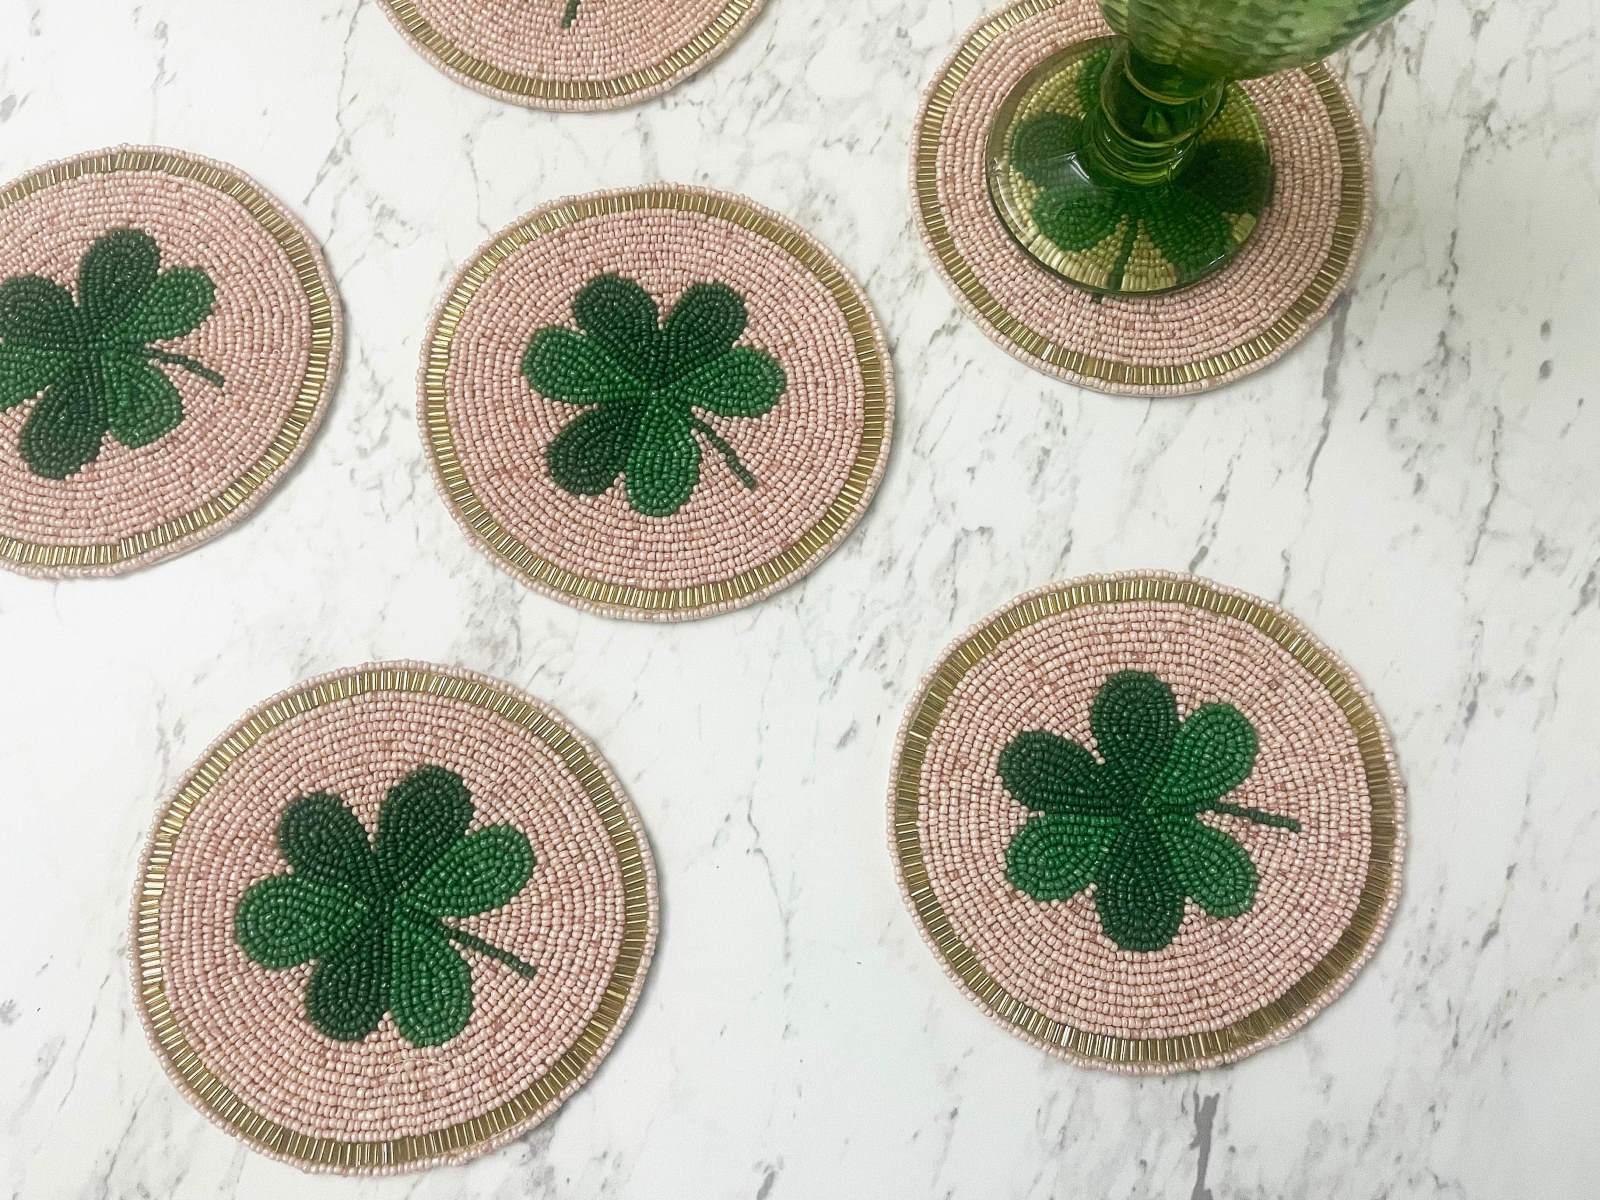
Get ready for St. Patrick's Day with our DIY Crafty Clover Coasters! Add a touch of green to your home with this fun and easy home improvement project. Perfect for DIY & Crafts enthusiasts.
(Many of the links in this article redirect to a specific reviewed product. Your purchase of these products through affiliate links helps to generate commission for Twigandthistle.com, at no extra cost. Learn more)
Introduction
Welcome to the world of DIY home improvement, where creativity and functionality come together to elevate your living space. As St. Patrick's Day approaches, what better way to infuse a touch of charm and festivity into your home than by crafting your very own clover coasters? These delightful coasters not only serve a practical purpose but also add a whimsical and personalized touch to your decor.
Crafting your own clover coasters is a wonderful way to unleash your creativity and add a dash of Irish spirit to your home. Whether you're a seasoned crafter or a newcomer to the world of DIY, this project offers a perfect opportunity to indulge in a fun and rewarding activity. By following this step-by-step guide, you'll be able to create charming clover coasters that are not only functional but also serve as eye-catching conversation starters.
So, gather your materials, roll up your sleeves, and get ready to embark on a crafting adventure that will leave you with a set of unique and delightful clover coasters. Let's dive into the world of DIY home improvement and bring a touch of St. Patrick's Day magic into your living space!
Materials Needed
To embark on this delightful DIY project and create your own charming clover coasters, you'll need a few essential materials. Before diving into the crafting process, ensure that you have the following items at your disposal:
-
Felt Sheets: Select green felt sheets to form the base of your coasters. The thickness of the felt will determine the sturdiness of your coasters, so choose a quality material that can withstand the weight of a beverage.
-
Scissors: A pair of sharp scissors is crucial for cutting the felt into precise clover shapes. Ensure that your scissors are capable of cleanly cutting through the felt without causing frayed edges.
-
Fabric Glue or Hot Glue Gun: You'll need a reliable adhesive to attach the various components of your clover coasters. Fabric glue or a hot glue gun will provide a secure bond, ensuring that your coasters withstand regular use.
-
Decorative Embellishments: Consider adding decorative elements such as sequins, beads, or small buttons to enhance the visual appeal of your coasters. These embellishments will add a touch of whimsy and personality to your DIY creation.
-
Sealant: To protect your coasters from spills and stains, a sealant such as Mod Podge or clear acrylic spray is essential. This final touch will ensure that your coasters remain in pristine condition, even after repeated use.
-
Clover Template: While not mandatory, a clover template can be helpful for achieving consistent and symmetrical clover shapes. You can easily create your own template or find one online to use as a guide for cutting the felt.
-
Marker or Chalk: A marker or chalk can be used to trace the clover shapes onto the felt before cutting, ensuring precision and accuracy in the crafting process.
Gathering these materials will set the stage for an enjoyable and successful crafting experience. With these essentials in hand, you're ready to bring your clover coasters to life and infuse your home with a touch of St. Patrick's Day charm.
Step 1: Cutting the Clover Shapes
To begin crafting your charming clover coasters, the first step involves cutting the clover shapes from the green felt sheets. This process sets the foundation for your coasters, shaping them into the iconic symbol of St. Patrick's Day. Follow these detailed steps to ensure precision and accuracy in creating the clover shapes:
-
Prepare the Felt: Lay out the green felt sheets on a flat surface, ensuring that they are free from wrinkles or creases. This will provide a smooth and even surface for cutting the clover shapes.
-
Create or Trace the Template: If you have a clover template, place it onto the felt and trace around it using a marker or chalk. Alternatively, you can create a simple clover template by drawing a clover shape on a piece of paper and cutting it out to use as a guide.
-
Trace the Clover Shapes: Using the marker or chalk, carefully trace the clover shapes onto the felt, ensuring that the lines are clear and defined. Depending on the size of your coasters, you may need to trace multiple clover shapes onto each felt sheet.
-
Precision Cutting: With a pair of sharp scissors, begin cutting along the traced lines to create the clover shapes. Take your time to ensure precise cuts, following the outlines closely to achieve symmetrical and well-defined clovers.
-
Inspect and Refine: Once the clover shapes are cut out, inspect them for any uneven edges or imperfections. Make any necessary refinements to ensure that each clover is uniform and visually appealing.
By meticulously following these steps, you'll successfully cut out the clover shapes from the green felt, laying the groundwork for the delightful coasters that will soon adorn your living space. This meticulous attention to detail in the cutting process will contribute to the overall quality and visual appeal of your DIY clover coasters.
Step 2: Adding the Stem
With the clover shapes meticulously cut out and ready for the next phase of the crafting process, it's time to add the iconic stems that will bring the clovers to life. The stems not only serve as a distinctive feature of the clover but also provide a practical function, allowing for easy handling and placement of the coasters. Follow these detailed steps to seamlessly incorporate the stems into your charming clover coasters:
-
Selecting the Stem Material: Begin by choosing a suitable material for the stems. Thin green felt or green embroidery floss are ideal options for creating the slender stems that will complement the clover shapes. Ensure that the chosen material is flexible yet sturdy enough to withstand regular use.
-
Measuring and Cutting: If using green felt, measure and cut thin strips to serve as the stems for the clovers. The length of the strips will depend on the desired size of the coasters and the placement of the stems. For green embroidery floss, cut the desired length for each stem, ensuring that they are uniform in size.
-
Attaching the Stems: Using fabric glue or a hot glue gun, carefully attach the stems to the back of each clover shape. Position the stems centrally and ensure that they are securely bonded to the felt. Take care to align the stems in a uniform manner, maintaining consistency across all the coasters.
-
Securing the Bond: Allow sufficient time for the adhesive to set and secure the bond between the stems and the clover shapes. This step is crucial in ensuring that the stems remain firmly attached, providing durability and functionality to the coasters.
By following these steps with precision and attention to detail, you'll seamlessly integrate the stems into the clover coasters, transforming them into delightful and functional pieces of decor. The addition of the stems not only enhances the visual appeal of the coasters but also elevates their practicality, making them easy to handle and move as needed. With the stems in place, your DIY clover coasters are one step closer to becoming charming accents that capture the essence of St. Patrick's Day.
Step 3: Decorating the Coasters
With the clover shapes and stems seamlessly integrated, the next phase of crafting your charming clover coasters involves adding decorative embellishments to infuse them with personality and visual allure. This step allows you to unleash your creativity and customize the coasters to align with your unique style and the festive spirit of St. Patrick's Day. Follow these detailed steps to adorn your coasters with delightful decorative elements:
-
Selecting Decorative Embellishments: Begin by gathering an assortment of decorative elements such as sequins, beads, small buttons, or any other embellishments that resonate with the theme of St. Patrick's Day. Consider incorporating shades of gold, rainbow colors, or other symbols associated with the holiday to evoke a sense of Irish charm.
-
Planning the Design: Before applying the embellishments, take a moment to plan the design for each coaster. Whether you opt for a symmetrical arrangement or a more whimsical and eclectic layout, envision how the decorative elements will enhance the overall aesthetic of the coasters.
-
Applying the Embellishments: Using fabric glue or a hot glue gun, carefully affix the selected embellishments onto the surface of the clover shapes. Exercise precision and attention to detail to ensure that the decorative elements are securely attached and visually appealing. Whether you choose to create a pattern, spell out a festive message, or simply scatter the embellishments in an artful manner, let your creativity guide the placement of each element.
-
Adding Personal Touches: Consider incorporating personalized touches such as initials, meaningful symbols, or miniature representations of traditional Irish icons to infuse the coasters with sentimental value. These personalized elements will transform the coasters into cherished keepsakes that reflect your individuality and the spirit of St. Patrick's Day.
-
Balancing Visual Harmony: As you decorate each coaster, strive to achieve a harmonious balance of colors, textures, and shapes. Pay attention to the placement of the embellishments to create visually appealing compositions that capture the essence of the holiday while maintaining a cohesive and polished look.
By following these steps and infusing your clover coasters with decorative flair, you'll elevate them from functional pieces to captivating works of art that embody the festive spirit of St. Patrick's Day. The addition of personalized and visually striking embellishments will transform your DIY creation into a delightful and meaningful accent for your home, serving as a testament to your crafting prowess and creative ingenuity.
Step 4: Sealing the Coasters
Sealing the clover coasters is a crucial step that ensures their longevity and resilience against spills and stains, allowing them to withstand the rigors of daily use while preserving their visual appeal. By applying a sealant, such as Mod Podge or clear acrylic spray, you'll safeguard the decorative elements and enhance the overall durability of the coasters. Follow these detailed steps to effectively seal and protect your charming clover coasters:
-
Prepare the Workspace: Find a well-ventilated area to work in and lay down a protective covering to shield the surrounding surface from the sealant. This will prevent any inadvertent overspray or spills from affecting your workspace.
-
Even Application: If using Mod Podge, apply a thin, even layer of the sealant using a foam brush, ensuring complete coverage over the entire surface of each coaster. Alternatively, if opting for clear acrylic spray, hold the can at a suitable distance and apply a light, consistent coat over the coasters, allowing each layer to dry before applying the next.
-
Protecting the Decorative Elements: Take care to protect the decorative embellishments while applying the sealant, ensuring that they remain undamaged and securely adhered to the coasters. The sealant will encapsulate the embellishments, safeguarding them from wear and tear while preserving their visual allure.
-
Drying Time: Allow the sealant to dry thoroughly according to the manufacturer's instructions. This crucial drying period ensures that the sealant forms a protective barrier, enhancing the resilience of the coasters and fortifying their decorative elements against potential damage.
-
Repeat the Process: For enhanced protection, consider applying multiple coats of sealant, allowing each layer to dry completely before adding the next. This iterative process will further reinforce the coasters, making them more resistant to moisture and spills.
By meticulously following these steps and sealing your clover coasters with precision and care, you'll fortify them against the challenges of everyday use while preserving their aesthetic charm. The sealant serves as a shield, safeguarding the decorative elements and ensuring that your DIY creation remains a delightful and functional addition to your home decor for years to come.
Conclusion
In conclusion, crafting your own clover coasters presents a delightful opportunity to infuse your living space with the festive spirit of St. Patrick's Day while showcasing your creativity and DIY prowess. By following the step-by-step guide outlined in this article, you've embarked on a crafting journey that culminates in the creation of charming and personalized coasters that serve as both functional household essentials and eye-catching decorative accents.
As you reflect on the crafting process, from meticulously cutting out the clover shapes to adding the iconic stems, infusing the coasters with decorative embellishments, and sealing them for resilience, you've not only honed your crafting skills but also imbued each coaster with a touch of your unique style and personality. The attention to detail and thoughtful incorporation of decorative elements have transformed simple felt into captivating works of art that capture the essence of St. Patrick's Day.
These DIY clover coasters are more than just practical household items; they are tangible expressions of your creativity and a testament to the joy of crafting. Whether you've chosen to adorn them with shimmering sequins, vibrant beads, or personalized touches, each coaster is a reflection of your artistry and the festive spirit that permeates the holiday season.
As you proudly display your handcrafted clover coasters in your home, whether on coffee tables, countertops, or as thoughtful gifts for friends and family, they serve as reminders of the joy and fulfillment derived from engaging in creative endeavors. Every time you reach for a coaster to place your favorite beverage, you'll be greeted by a touch of Irish charm and a tangible representation of your crafting journey.
In essence, the process of crafting clover coasters extends beyond the tangible end result; it encapsulates the joy of creation, the celebration of tradition, and the expression of individuality. Your DIY clover coasters stand as symbols of creativity and a testament to the enduring allure of handmade crafts in enhancing the ambiance of your home.
So, as you revel in the charm and functionality of your handcrafted clover coasters, take pride in the artistry and dedication that have gone into their creation. Embrace the festive spirit of St. Patrick's Day and the joy of DIY crafting, knowing that your personalized coasters are not just decorative accents but cherished mementos of your creative spirit.